In this project I take you through designing, testing and building a precision voltage reference standard box giving both 10 and 5 volts to an accuracy of ±0.025% or better with out any adjustment. With the addition of a trim circuit the accuracy can be increased to ±0.0005% or better. Using standard available components it can be built in a few hours.
Hello,
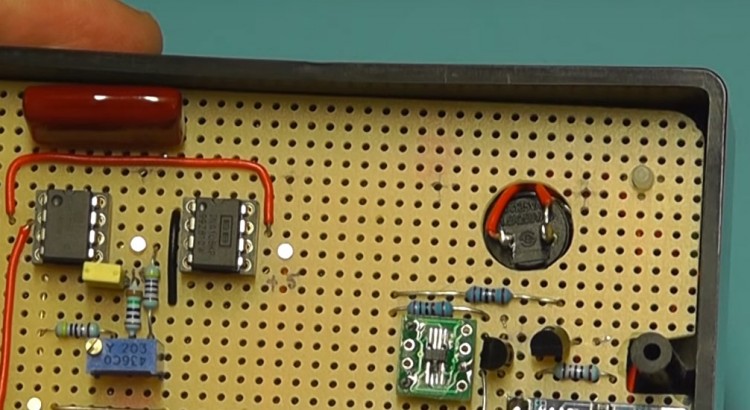
I’m enjoying your videos very much, thanks for making them. I noticed when you soldered your components to the perf board, you also used little tinned pins. I’ve been looking around the web to buy those pins but can’t seem to find them. Would you mind sharing where you get yours and what they are formally named? Thanks!
Hello Louis,
I would like to build up this little project (although I do like your later precision reference powered from a 9V PP3) mainly because I want to use perf board to fit in an OKW case I already have https://www.okw.com.au/en/Flat-Pack-Case/A9530165.htm?var=afb17c40-c2e5-11e2-8e2c-0050568225d7
I should be able to fit the components in this little case which measures 150mm x 85mm x 45mm although I will probably use a different LiPo battery. I just wanted to know how the LiPo charger module works as the schematic on your whiteboard appears to show no external power input for charging. The charger module is shown connected between the battery and the input to the DC – DC converter module.
I suddenly realised the reason for the micro USB connector on the charger module – silly me…
The video does not explain the charging feature or that the USB connector which is accessed via the aperture in the end of the box is for this purpose. Also that the charging power supply must be a 5V unit of probably 2A capability – such as one designed for a Raspberry Pi.
Louis,
Is there a circuit diagram for your 10V reference (REF102) as I would like to build one.
Regards
Ian